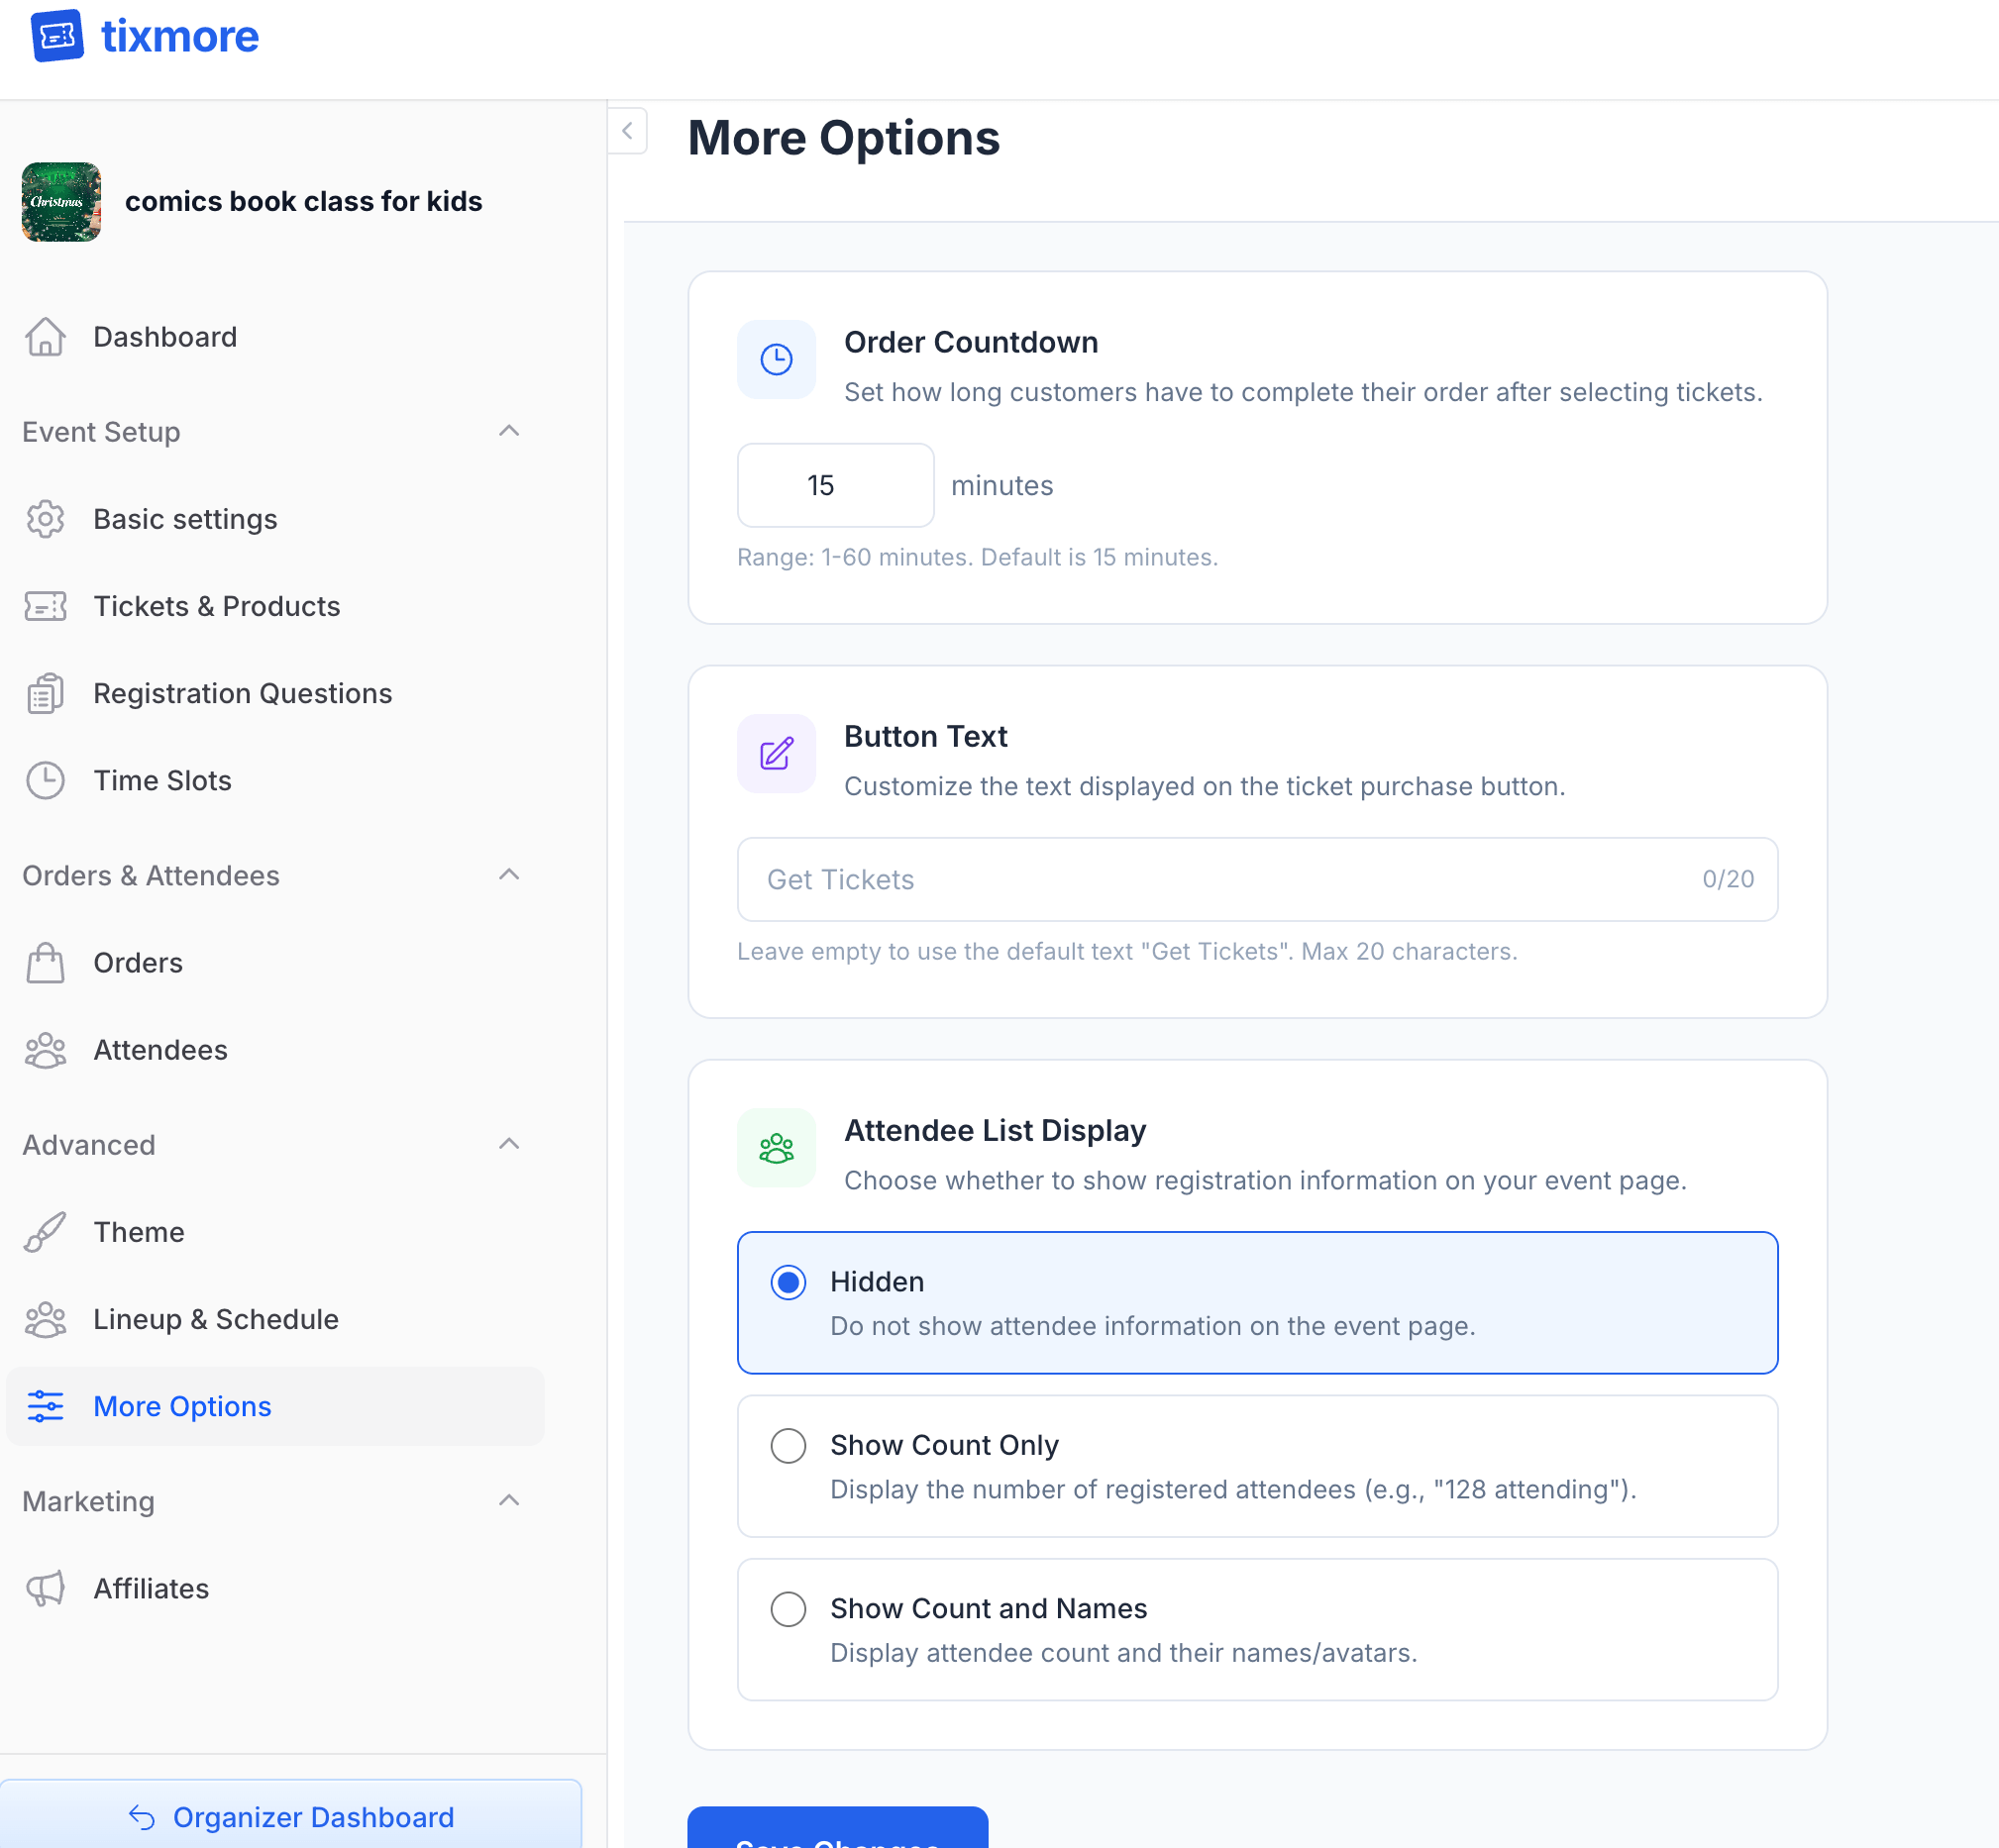
More Options
Beyond the core settings, Tixmore provides a few extra controls that let you fine-tune the checkout experience and what attendees see on your event page.
Where to Find It
In your Event Panel sidebar, go to Advanced → More Options.
There are three settings on this page, each with a clear purpose.
Order Countdown
What it does: Sets how long customers have to complete their order after selecting tickets.
When someone clicks "Get Tickets" and chooses their tickets, a countdown timer starts. If they don't complete the purchase before time runs out, the tickets are released back to the pool for others to buy.
| Setting | Details |
|---|---|
| Default | 15 minutes |
| Range | 1–60 minutes |
When to adjust:
- Shorter (5–10 min) — High-demand events where tickets sell fast. Prevents people from holding tickets while they decide, blocking others from purchasing.
- Longer (20–30 min) — Events where attendees might need time to coordinate with friends, check schedules, or fill in detailed registration questions.
- Keep at 15 min — Works well for most events. Long enough to fill in payment details, short enough to prevent excessive ticket holding.
The countdown is visible to the buyer during checkout — they'll see something like "Complete payment within 14:48". This creates healthy urgency without being pushy.
Button Text
What it does: Customizes the text on the ticket purchase button on your event page.
The default button text is "Get Tickets". You can change it to something that better fits your event.
| Setting | Details |
|---|---|
| Default | "Get Tickets" (when left empty) |
| Max length | 20 characters |
Examples:
- "Register Now" — For free events, conferences, or workshops where "tickets" feels wrong
- "Book Your Spot" — For limited-capacity classes, tours, or experiences
- "Join Us" — For community events, meetups, or informal gatherings
- "RSVP" — For invite-style events
- "Get Tickets" — The default, works great for concerts, shows, and traditional ticketed events
Leave it empty to use the default. The character counter shows how many characters you've used — keep it short so the button looks clean on mobile.
Attendee List Display
What it does: Controls whether registration information is shown on your public event page.
Choose one of three modes:
Hidden (Default)
No attendee information is shown on the event page. Attendees see the event details, but not who else is going.
Best for: Most events. Privacy-conscious events. Events where the attendee list isn't a selling point.
Show Count Only
Displays a count like "128 attending" on the event page.
Best for: Events where social proof matters. Seeing that hundreds of people are already registered can encourage others to sign up. Good for conferences, festivals, and community events.
Show Count and Names
Displays the attendee count along with attendee names and avatars.
Best for: Community-driven events where people want to see who else is going — networking meetups, alumni gatherings, or small group workshops. Creates a sense of community before the event even starts.
If you enable "Show Count and Names", attendee names will be visible to anyone who views your event page. Make sure this aligns with your attendees' expectations. For corporate or sensitive events, stick with Hidden or Show Count Only.
Saving Changes
After adjusting any of these settings, click "Save Changes" at the bottom of the page. Changes take effect immediately on your live event page.
These are finishing touches — most events work great with the defaults. Focus on getting your tickets, theme, and event details right first.